After IP-videoserver preparation and before adding to TRASSIR, device parameters should be set up: IP-address, subnet mask and gateway.
Parameters can be set in two ways:
- in SADP utility;
- in the device's interface.
TRASSIR Lanser settings with the help of your own interface
- Connect monitor and mouse to the device.
- Turn on the TRASSIR Lanser.
- Open network settings menu by selecting Menu > Settings > Network.
- Select the General tab in the opened menu.
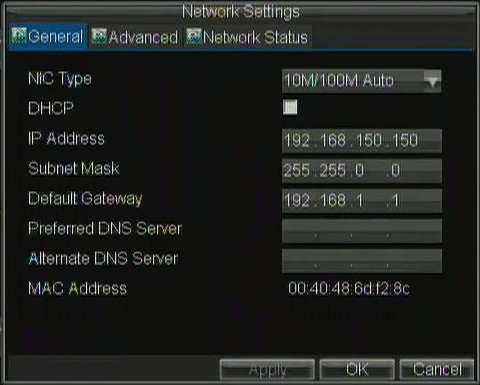
- Select one of the two following variants of settings:
-
Automatic settings receipt - in case DHCP server operates in the network and you need to receive network settings for this device, check DHCP box.
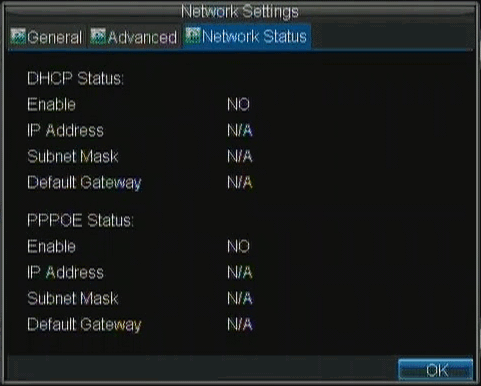
You can check the status of the DHCP server in Network status tab:
- Manual network settings -set the following values:
- IP address - The address that is to be assigned to the device;
- Mask - The subnet mask;
- Gateway - The IP address of the gateway (this is usually your router);
- Primary DNS server, Secondary DNS server - The primary- and secondary DNS servers to be used with your device.
-
- Press OK button to save the settings.
TRASSIR Lanser setting using SADP utility
- Download SADP utility from our web-site.
- Extract the archive and install the utility.
- Restart your PC, if necessary.
- Run the utility
sadpdlg.exe. - In the opened window click Enter.
- In the list of the discovered devices, select the device. Click Modify.

- In the Subnet mask field, enter your subnet mask.
- In the IP address field, enter the device's required IP address.
- In the Please input password field, enter your password (the default password is "12345").
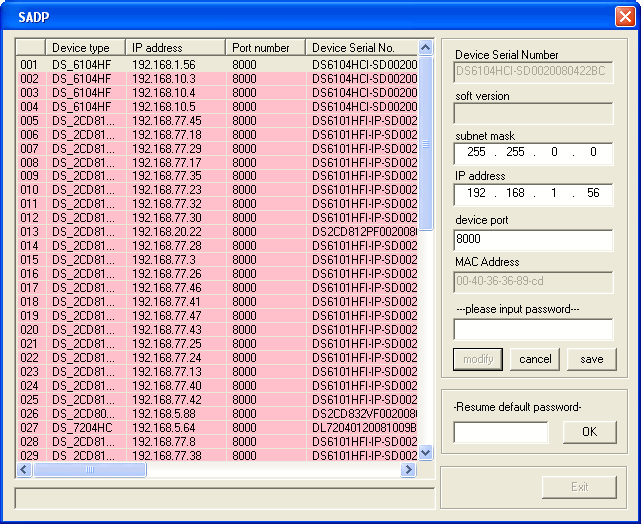
- Click Save.
