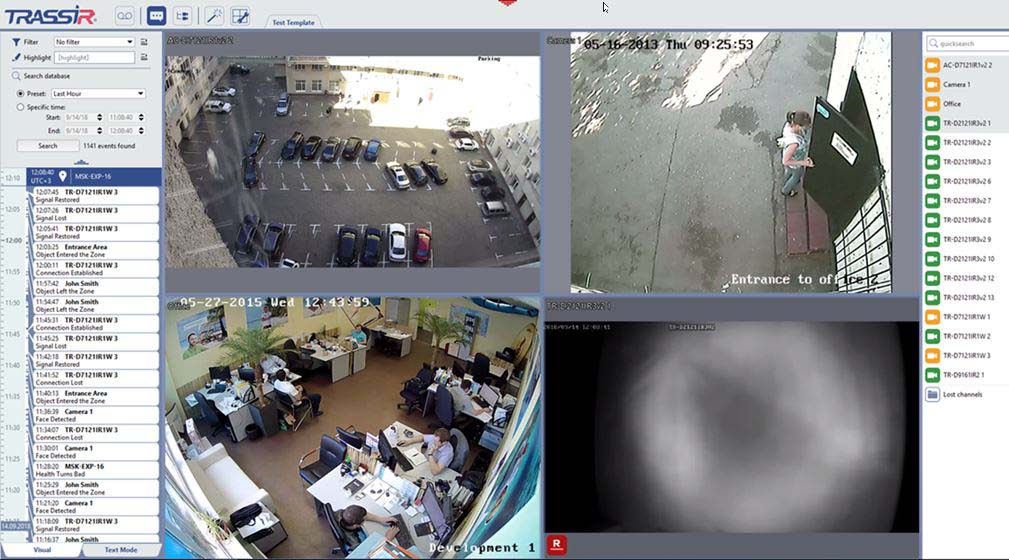
For our purposes, the interface can be divided into several areas
-
Menu buttons – A set of icons located at the top of the screen that lets you control the video monitor interface's modes:
Table 84.

Enable/disable Archive mode.
In the Archive mode, all cameras in the template are switched to the archive playback mode. In case the event log is turned on, graphic bars corresponding to the presence of a channel record for a specific period of time will be displayed in the log panel. The absence of bars means that there is no data for the specified channels in the archive.

Show/hide event log.
The event log is an area with a time scale in which the recorded TRASSIR events are shown. When you turn on the event log display, it is docked to the left of the currently displayed template or map. More information about the event log operation can be found in the Event log operation subsection.

Show/hide the object tree.
Object tree - is the area containing all TRASSIR objects and their current status. The object tree, like the event log, is displayed on the left side of the screen. Using the menu buttons, you can display either an event log or an object tree. The object tree can also be installed in the template. See description of the use of this area in the TRASSIR object tree operation subsection.

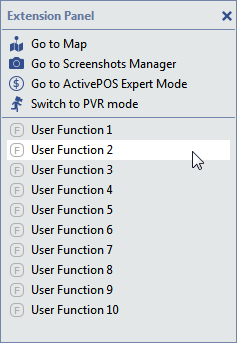
Open the extension panel
- Go to Map – Shows/hides the map display area. When this button is clicked, the center of the video monitor interface will display a map area instead of the template. Just as with an the object tree, a map can be added to a template.
- Go to Screenshots Manager – Shows/hides the area for Screenshots manager. When this button is clicked, the center of the video monitor interface will display a screenshots manager area instead of the template. Just as with the object tree and a map, this area can be added to a template.
- Go to ActivePOS Expert Mode - Shows/hides the ActivePOS Expert Mode area. When this button is clicked, the center of the video monitor interface will display the ActivePOS Expert Mode area instead of the template. Just as with an object tree and a map, this area can be added to a template.
- Switch to PVR mode- Shows/hides the area to manage personal video recorders. When this button is clicked, the PVR control area appears instead of the template in the central part of the video monitor.
- User functions 1-10 – Activates a previously created rule or script. You can read more about working with rules and scripts in the Administrator's Guide.

Open template editor menu.
You can create new templates, modify the existing ones, or delete them. Switching between templates lets you quickly access pre-configured sets of cameras, maps, lists of objects, etc. on one monitor. See the description of the procedure for setting up and managing templates in Working with templates subsection.

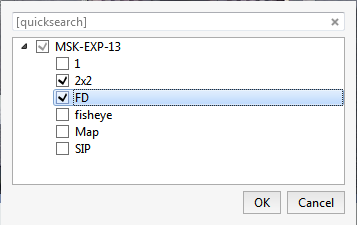
Shows / hides Channel list.
Tip
You can hide the menu. To do this, press "~" or "Backspace" button. To turn the menu back on, you must press the specified buttons again or press ESC button.
-
Template editor. The main element of the video monitor interface is a template. The list of the created templates is displayed in the top area of the screen.
Right click on the list of templates will open a menu that lets you save a template under another name, rename, or delete a template.
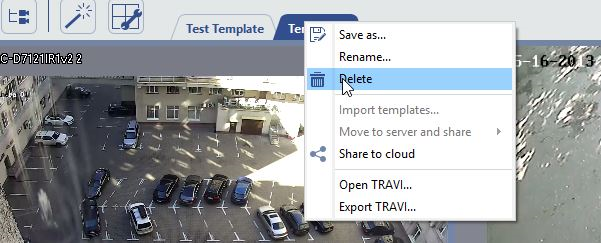
Besides, if you are connected to another server, you can import templates that were created on it. In this case, the Import templates menu item will be enabled. Click it and select one or more templates that you want to import from the list.
The Export TRAVI... and Open TRAVI... entries let save the template with the channels archive to a file and open a previously saved one. Read more about these features in Export the archive template to a file.
The active template is displayed in the central part of the video monitor and fills the main screen area. Templates let you divide the screen into the desired number of zones; and video signals from the camera, TRASSIR tree, map, AutoTRASSIR and ActivePOS modules panels and the "Active monitor" area can be displayed in each zone. For more information on template creation and configuration, see Creating a new template section.
Important
In order to edit templates, the user account with which the operator signed into the system must have the appropriate permissions.
-
Channel list – The area used to monitor the state of cameras (and groups of cameras) and, if desired, to display the video from a particular camera on the entire screen. A description of how to work with channels, possible states, and the meaning of channel icons is given in Channel list.