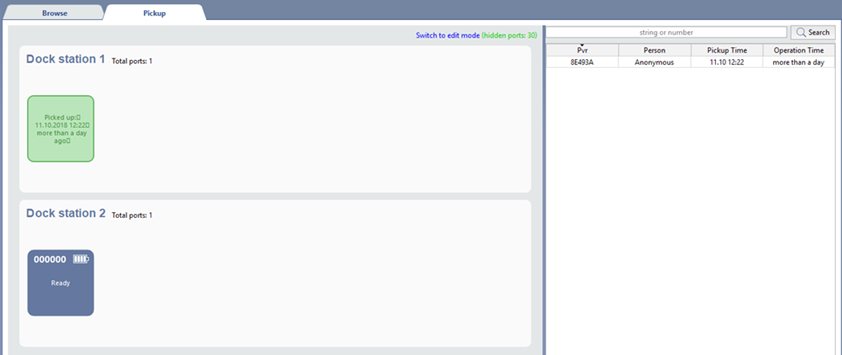
The PVR's interface consists of two parts:
-
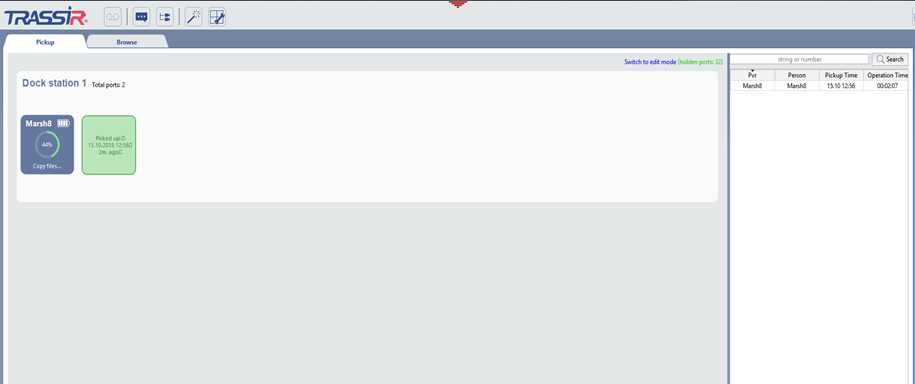
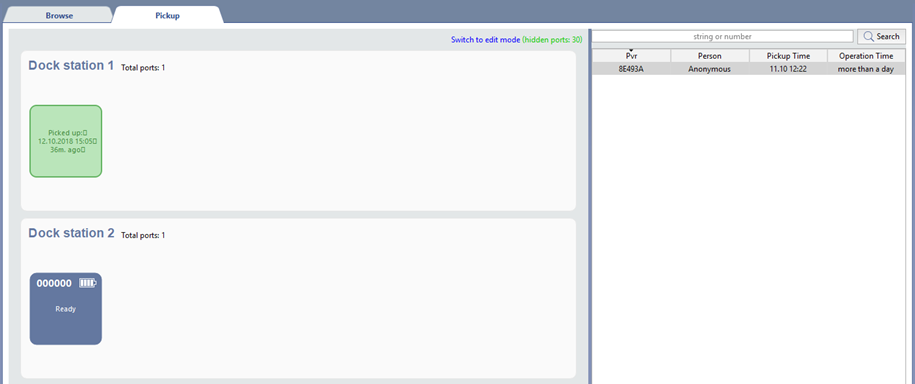
On the left side there is a picture of PVR ports, connected to the server. Click Switch to edit mode to customize the picture to your convenience. Read more about Edit mode in Edit mode of the PVR interface.
During PVR pickup/return, the following information will be displayed in the left part of the screen:
Table 95.

Unassigned PVR ports.

PVR port is ready.

PVR is picked up.

PVR is returned and the archives are merging.
Upon the merge completion, the PVR port will switch to the Ready mode.
-
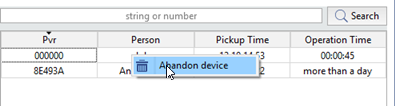
The list of all picked up PVRs is situated on the right side. This list helps identify to whom and when a certain device has been issued.
Tip
If a PVR has been picked up by mistake, you can remove the pickup record. To do this, right click and then select Abandon device.
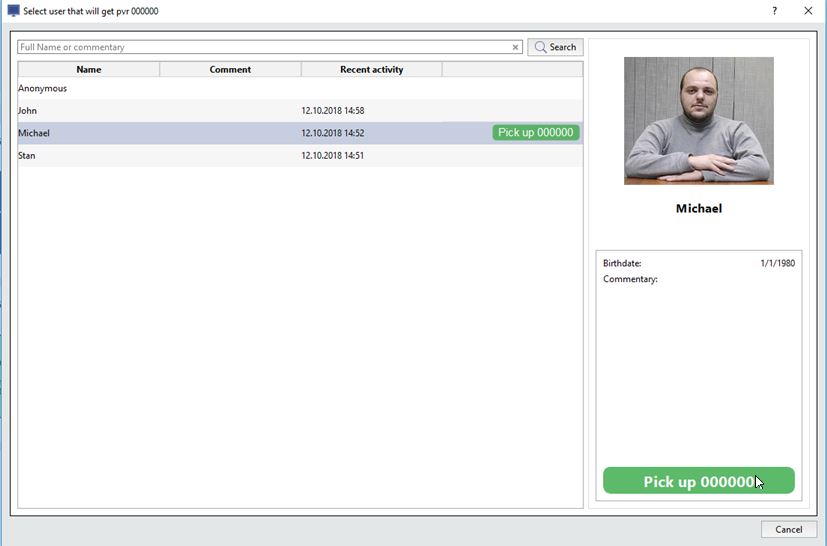
PVR pickup
To activate the PVR pickup, disconnect it from the dock station. In the opened window select the required employee and click Pick up.
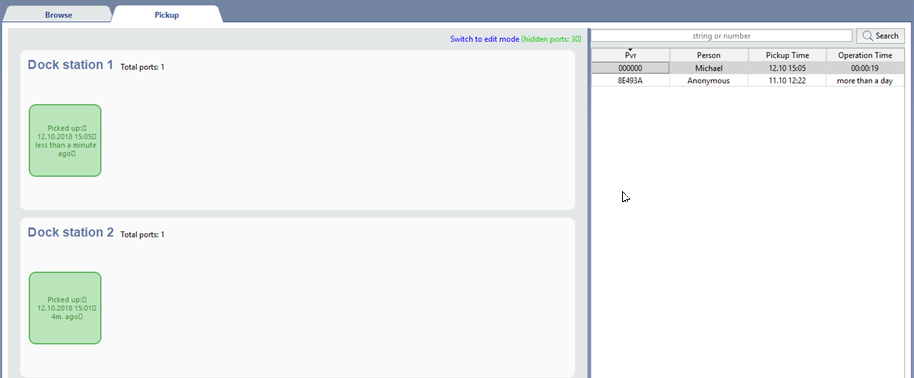
As a result, at the left part of the interface window, the PVR will change its status to Picked up, and at the right the information on the PVR pickup will appear.
Tip
If, during the PVR pickup, you're not able to assign an employee for any reason, you can select Anonymous.
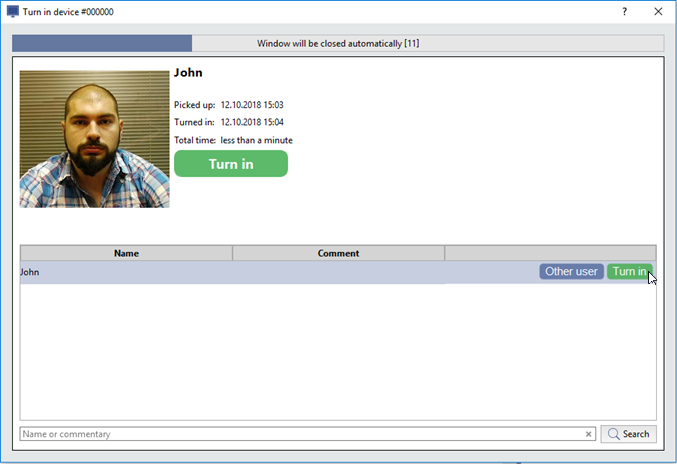
PVR turn in
To activate the PVR return, connect it to the dock station. In the opened window click Turn In.
Tip
If you've selected wrong employee name or Anonymous, press Other user and select the proper employee.
After that TRASSIR will merge the archive with PVR archive.
Important
The PVR archive will be saved under the employee's name, selected by PVR turn in.
If you've selected Anonymous by PVR pickup and turn in, the archive will be save under the anonymous ID.
After downloading the archive, TRASSIR will clear the PVR's memory and change its status to Ready.
You can Review PVR archive in the Browse tab.
