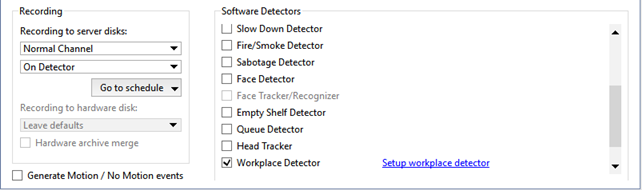
To activate the plugin go to the Channel settings to the Software detectors area and select Workplace detector. Click the Setup workplace detector link to open the settings window.
Detector settings window:
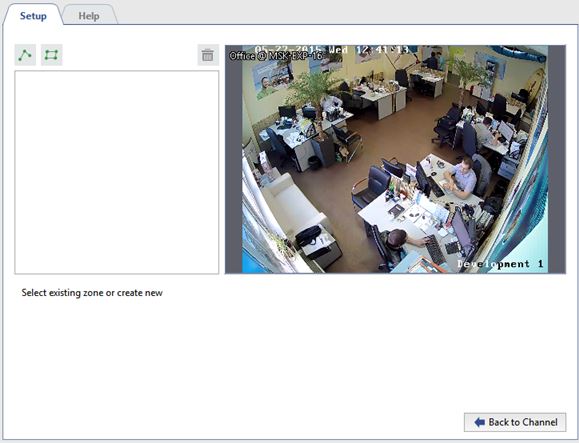
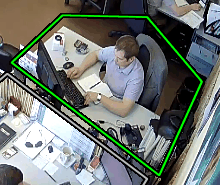
Create detector's zones - the areas which will be monitored by the detector.
- Press the button
 .
.
- Set the vertex of the polygon by pressing the left mouse button sequentially. Upon completion press Finish button.
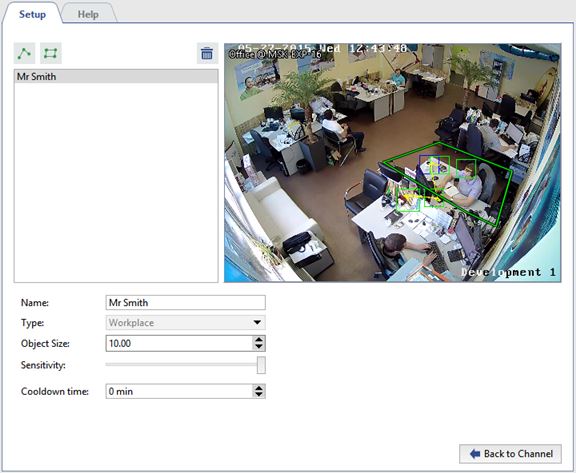
- Set the zone name, i.e. employee's name or the name of the workplace.
After that the parameters where the detector will be activated should be defined for each zone:
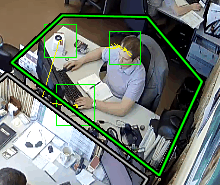
- Object size - the size of the head of the monitored objects.
- Sensitivity - the level of the detector's sensitivity.
- Cooldown period -the duration of motion absence in the zone.
Setting procedure
-
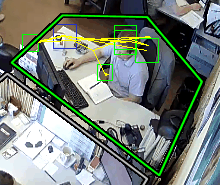
Move the Sensitivity slider right to adjust the detector's sensitivity above average. You'll see false triggerings of detector on the display in the shape of several squares.
-
Increase or decrease the value in the Object size field, so that a person's head would fit the green square.
-
Move the Sensitivity slider left to prevent false triggerings.
- To prevent detecting a motionless person as employee's workplace absence, increase the Cooldown period.
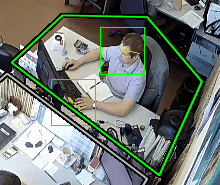

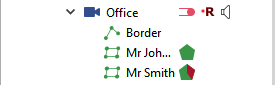
You can monitor the zones' status in objects tree in real time; the indicator will change its color in case of the employee's
absense at the workplace  →
→  :
:
Tip
You can set up a rule or script triggering on the status change for the immediate detector's status monitoring.
