You can connect an IP camera of any of the supported manufacturers the following way:
On the camera:
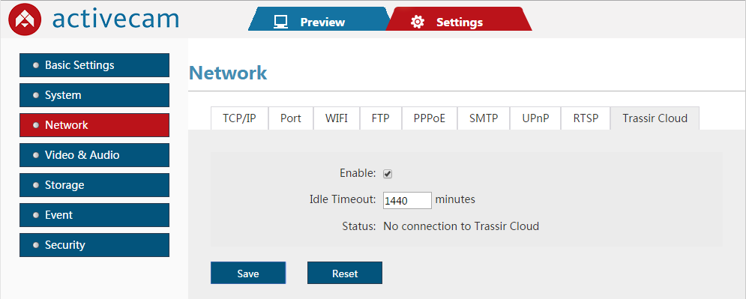
Open TRASSIR Cloud tab in the device Web interface on the network settings page. Check Enable flag. In the Idle time (min) specify the time period within which the camera will be available for cloud connection. Save the settings upon completion.
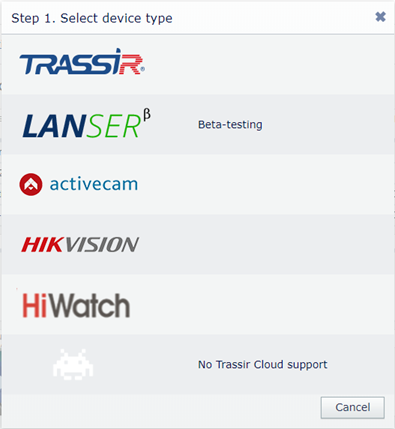
In the cloud:
Open the Devices page. Click Add device and select the required manufacturer. In the opened window in Device ID filed enter IP camera MAC address and credentials and then press Next.
Important
The current user should have the rights to change the camera settings.
Wait a few seconds while the cloud is connecting with the IP camera. After the connection is established, verify the model of the connected camera in the Camera name field and complete the connection by clicking the Next button.
Tip
You can monitor the connection status by notifications in the Status field in camera WEB-interface:
Unknown Status- the cloud connection feature is disabled.Connected to Trassir Cloud, idle- a connection with TRASSIR Cloud is established. Connect the camera to the cloud.No connection to Trassir Cloud- there is no connection with TRASSIR Cloud.Connected to Trassir Cloud, working- the camera is connected. The video is being transmitted to the cloud."Idle Timeout" reached, service stopped- the time required for the connection of the camera to the cloud has expired.
Tip
In order to transfer data via local network the connected device and TRASSIR CMS should use the same DNS.
